Ingredients
Instructions
1-First Step: Gather and prep everything Before you start cooking, measure all your lemon curd ingredients and have them ready by the stove. Separate the eggs if needed, zest the lemon, and squeeze fresh juice. Since this recipe moves quickly once the heat is on, a little prep now makes the process smoother later. If you want to make this recipe even more beginner friendly, line up a whisk, a heatproof bowl or double boiler, and a clean jar for storing the finished curd. This is also a great time to set out a fine mesh strainer if you like your homemade lemon curd extra smooth.
2-Second Step: Set up the double boiler Fill the bottom of a double boiler with 1 to 2 inches of water and bring it to a simmer over high heat. Once the water is simmering, reduce the heat to low. The goal is steady steam, not a rolling boil. If you do not have a double boiler, a heatproof glass bowl set over a saucepan works well too. Just make sure the bowl does not touch the water. Using a non-metal bowl or boiler is smart because it helps prevent a metallic taste in the finished curd.
3-Third Step: Combine the base ingredients In the top of the double boiler, whisk together the egg yolks, sugar, lemon zest, lemon juice, and salt. Keep whisking as the mixture warms. This is the part where the magic starts to happen, because the eggs and sugar begin to thicken into a rich custard base. Be patient here. The mixture should not rush. If the heat is too high, the eggs can scramble. A low, steady temperature gives you that smooth, creamy texture people want in an easy lemon curd recipe.
4-Fourth Step: Whisk until thickened Continue whisking constantly for about 10 minutes, or until the mixture reaches a hollandaise-like texture. If you use a thermometer, aim for 170 degrees Fahrenheit. At that point, the curd should coat the back of a spoon and look glossy and slightly thick. Do not walk away during this step. Constant whisking helps prevent curdling and keeps the texture silky. If you notice the curd thickening unevenly, lower the heat a little and keep stirring. The texture will continue to improve as it cooks.
5-Fifth Step: Add the butter off the heat Once the curd has thickened, remove it from the heat. Add the butter pieces and whisk until they melt completely. The butter gives the curd its smooth finish and rich flavor. As the butter blends in, the mixture should turn glossy and even more luscious. If you want a thicker curd, use the version with 2 egg yolks and 1 whole egg. That small swap gives a firmer set, which is great for tart filling or layered desserts.
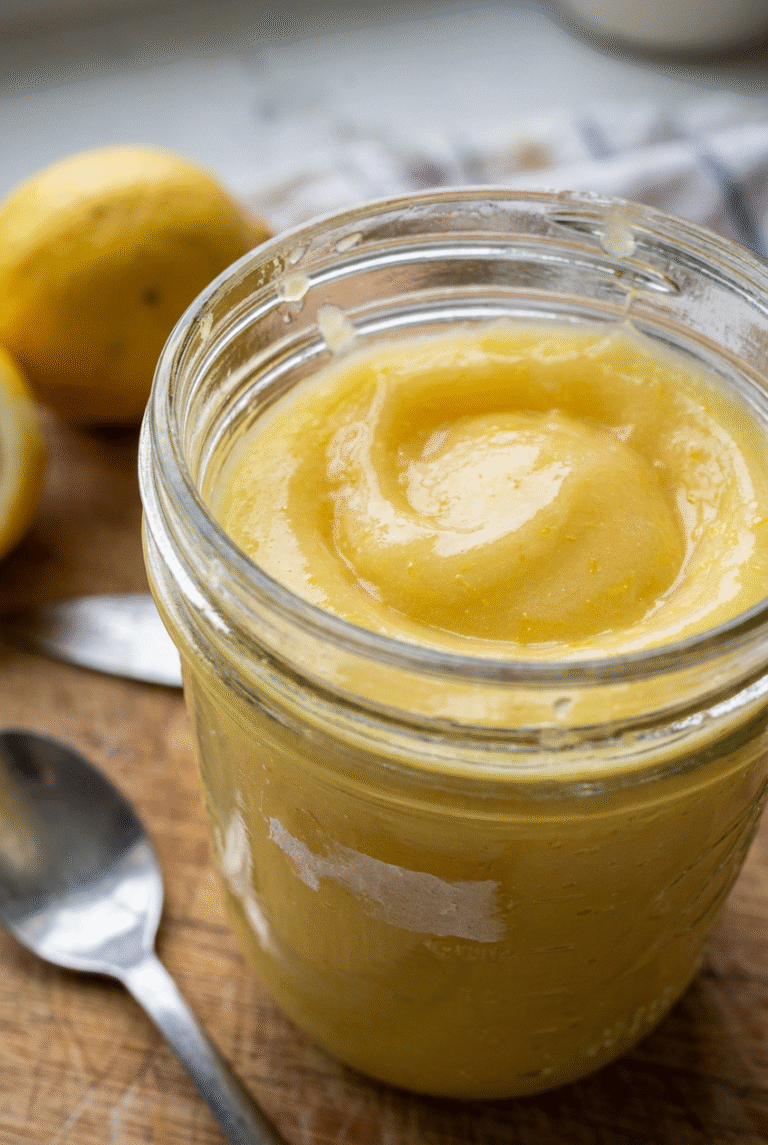
6-Final Step: Cool, cover, and chill Pour the finished curd into a jar or bowl. Cover it with plastic wrap directly on the surface so a skin does not form. Let it cool, then refrigerate. It will thicken more as it chills, so do not worry if it seems a little loose at first. The total time is about 1 hour and 15 minutes, including cooling. Once chilled, your Lemon Curd will be ready for spooning, spreading, and baking. Use it within up to 10 days for the best flavor and texture.
Last Step:
Please leave a rating and comment letting us know how you liked this recipe! This helps our business to thrive and continue providing free, high-quality recipes for you.Notes
🍋 Always use fresh lemons for vibrant flavor – bottled juice lacks punch.
🔥 Whisk nonstop over gentle simmer to avoid curdling or scrambling.
❄️ Thickens further when chilled; perfect for fillings, toppings anytime.
- Prep Time: 5 minutes
- Cool: 1 hour
- Cook Time: 10 minutes
- Category: Sauces
- Method: Double Boiler
- Cuisine: British
- Diet: Vegetarian, Gluten-Free
Nutrition
- Serving Size: 2 tablespoons
- Calories: 110 kcal
- Sugar: 10g
- Sodium: 40mg
- Fat: 7g
- Saturated Fat: 4g
- Unsaturated Fat: 2.5g
- Trans Fat: 0g
- Carbohydrates: 10g
- Fiber: 0g
- Protein: 1g
- Cholesterol: 75mg