Ingredients
– 1 cup creamy peanut butter for main flavor and base of the filling
– 1/2 cup unsalted butter for creating a smooth, soft texture
– 2 cups powdered sugar for sweetening and firming the dough
– 1/4 teaspoon salt for balancing sweetness
– 1 teaspoon vanilla extract for adding flavor depth
– 2 cups milk chocolate for chocolate coating
Instructions
1-First Step: Melt the peanut butter and butter Add 1 cup creamy peanut butter and 1/2 cup unsalted butter to a microwave-safe bowl. Heat in short bursts until the mixture is smooth and fully blended. Stir between each round so the butter melts evenly and the mixture does not overheat. If the mixture looks a little lumpy, microwave it for about 10 extra seconds and stir again. The goal is a smooth base that mixes easily with the sugar. This first step helps the filling come together fast and keeps the texture creamy instead of grainy.
2-Second Step: Mix in the flavor and sweeteners Once the peanut butter mixture is smooth, stir in 1/4 teaspoon salt, 1 teaspoon vanilla extract, and 2 cups powdered sugar. At first, the dough may look soft or sticky, but keep mixing until it becomes thick and moldable. For best results, wear gloves when handling the mixture. That makes the shaping step less messy and helps you work faster. If you use natural or unsweetened nut butter, you may need a bit more mixing and possibly a little more powdered sugar to get the right texture.
3-Third Step: Shape the eggs Line a sheet pan with parchment paper. Scoop portions of the filling and roll them into balls first, then gently flatten and shape each piece into an egg form. Try to make them about the same size so they chill evenly and look uniform after coating. This recipe makes 12 eggs as written. If you want a cleaner shape, pinch the top and bottom slightly to create the classic egg silhouette. Place each piece on the lined sheet pan after shaping.
4-Fourth Step: Chill until firm Transfer the sheet pan to the refrigerator and chill the eggs for about 30 minutes. This step is important because cold filling is much easier to dip in chocolate. If the eggs are too soft, they may lose shape or break apart in the coating. Do not skip the chill time. A firm center gives you neater chocolate shells and less mess at the dipping stage. If you are making these ahead for a holiday tray or party, you can chill them a little longer without any problem.
5-Fifth Step: Melt the chocolate While the eggs chill, melt the 2 cups milk chocolate. You can do this in a microwave-safe bowl using 30-second increments, stirring between each round, or use a double boiler for gentler heating. Keep going until the chocolate is smooth and glossy. If the chocolate seems thick, warm it for a few more seconds and stir again. Be careful not to overheat it, because burnt chocolate can turn grainy and hard to work with. Smooth chocolate gives the eggs a cleaner finish and makes dipping easier.
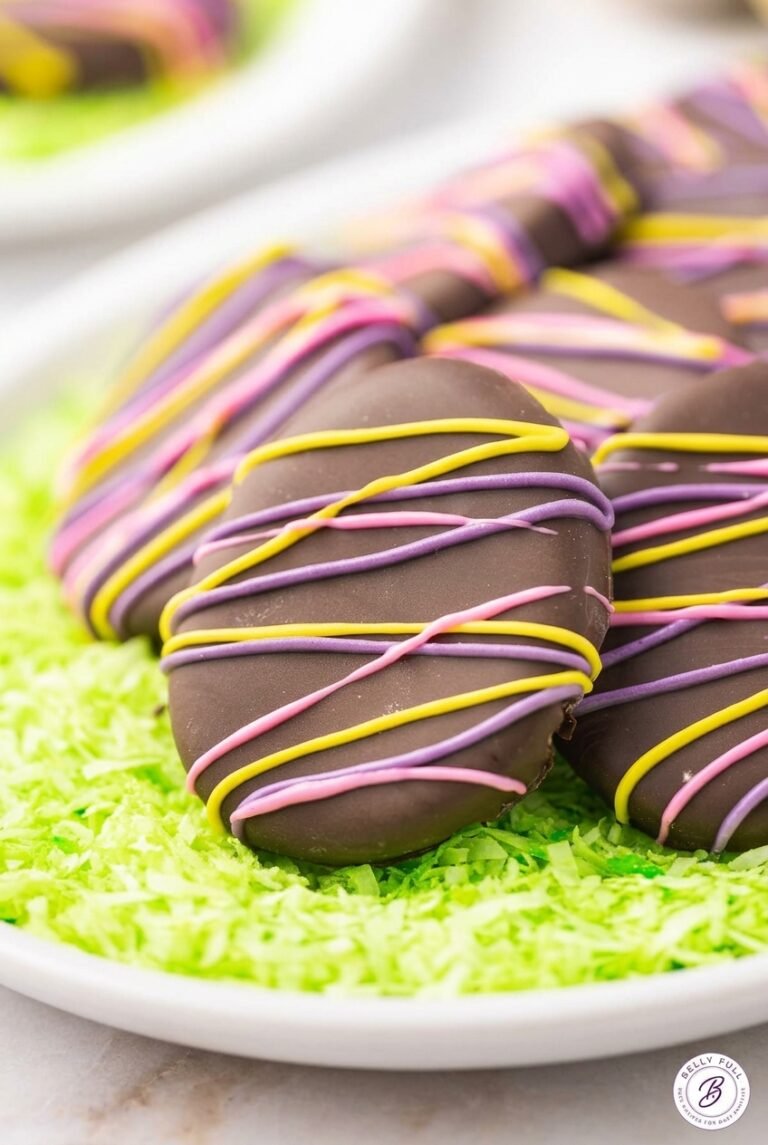
6-Sixth Step: Dip the chilled eggs Take the eggs from the refrigerator and work quickly. Dip each chilled egg into the melted chocolate, turning gently to coat all sides. Lift it out with a fork or dipping tool, then tap off the excess chocolate so the shell is not too thick. Place the coated eggs back onto the lined sheet pan. If you want a prettier finish, drizzle extra chocolate on top before the coating sets. This adds a homemade look and gives each egg a bakery-style touch.
7-Final Step: Set and serve Let the chocolate coating firm up at room temperature, or place the pan in the refrigerator for a faster set. Once the shells are firm, the eggs are ready to eat. They taste best when the chocolate is just set and the filling is still soft inside. Store the finished eggs in an airtight container. They can stay at room temperature for a short time or be frozen if you want to keep them longer than 5 days. If you are making them for a holiday table, they are a great make-ahead dessert that saves time on busy days.
Last Step:
Please leave a rating and comment letting us know how you liked this recipe! This helps our business to thrive and continue providing free, high-quality recipes for you.Notes
🧤 Wear food-safe gloves when shaping sticky peanut butter mixture.
⏰ Chill eggs well before dipping for clean, crack-free coating.
🔥 Melt chocolate slowly; stir vigorously if lumps form for silky finish.
- Prep Time: 20 minutes
- Chill: 30 minutes
- Cook Time: 0 minutes
- Category: Desserts
- Method: No-Bake
- Cuisine: American
- Diet: Vegetarian
Nutrition
- Serving Size: 1 egg
- Calories: 423 kcal
- Sugar: 37g
- Sodium: 147mg
- Fat: 29g
- Saturated Fat: 13g
- Unsaturated Fat: 14g
- Trans Fat: 0.3g
- Carbohydrates: 42g
- Fiber: 3g
- Protein: 6g
- Cholesterol: 20mg