Ingredients
– 1 cup creamy peanut butter for base of the filling
– 1/2 cup unsalted butter for soft creamy filling
– 2 cups powdered sugar for thickening the filling
– 1/4 teaspoon salt for balancing sweetness
– 1 teaspoon vanilla extract for flavor
– 2 cups milk chocolate for dipping
Instructions
1-First Step: Melt the filling base Start by placing the peanut butter and unsalted butter in a microwave-safe bowl. Heat them in short bursts until the butter melts and the mixture looks smooth. Stir well after each round so the heat spreads evenly. If the mixture seems lumpy, give it another quick microwave burst and stir again until everything blends together.
2-Second Step: Add the flavor and structure Next, stir in the salt and vanilla extract. Then add the powdered sugar gradually, a little at a time, mixing after each addition. The dough will start out soft, then become thicker and easier to handle as the sugar blends in. Keep stirring until you have a moldable mixture that holds its shape when pressed.
3-Third Step: Shape the eggs Once the filling is ready, pinch off small portions and roll them into oval shapes, then gently flatten and taper the ends so they look like eggs. Set each one on a parchment-lined tray. Try to keep the sizes even so they chill and coat at the same speed. This recipe makes candy-style treats that are easy to share and easy to pack into gift boxes.
4-Fourth Step: Chill until firm Place the tray in the refrigerator for 30 minutes. This chilling time is important because cold eggs are much easier to dip in chocolate. The filling firms up just enough to hold together, but it still stays creamy after it sets. If you need to step away, you can chill them a little longer without hurting the recipe.
5-Fifth Step: Melt the chocolate coating Put the milk chocolate in a microwave-safe bowl and heat it in 30-second increments, stirring between each round. This helps prevent scorching and keeps the texture smooth. Stop heating when the chocolate is mostly melted, then keep stirring until any small bits melt from the residual heat. If the chocolate starts to thicken while you work, warm it again for a short burst.
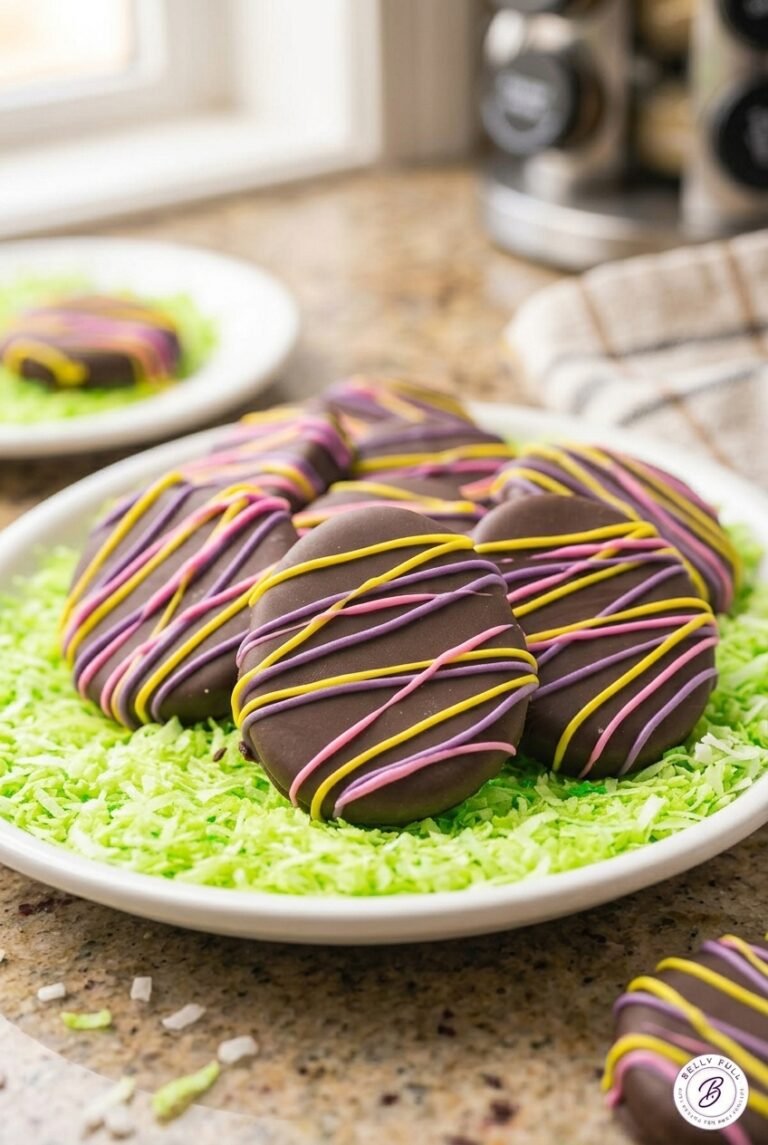
6-Sixth Step: Dip and decorate Remove the eggs from the fridge and dip each one into the melted chocolate. Turn it gently so it gets coated on all sides, then lift it out and tap off the extra chocolate. Place the coated eggs back on parchment paper. If you want a more polished look, drizzle extra chocolate over the top for a simple design.
7-Final Step: Set and store Let the chocolate harden at room temperature or place the tray in the refrigerator for a few minutes if you want them to set faster. Once firm, store the finished peanut butter eggs in an airtight container. They keep best in the fridge, where the filling stays cold and the chocolate keeps its shape.
Last Step:
Please leave a rating and comment letting us know how you liked this recipe! This helps our business to thrive and continue providing free, high-quality recipes for you.Notes
🧤 Wear gloves when shaping the sticky mixture for easier handling.
🔥 Microwave the filling briefly if it becomes lumpy during mixing.
🥜 Swap peanut butter for almond or cashew butter and adjust sugar to taste.
- Prep Time: 20 minutes
- Chill: 30 minutes
- Cook Time: 0 minutes
- Category: Desserts
- Method: No-Bake
- Cuisine: American
- Diet: Vegetarian
Nutrition
- Serving Size: 1 egg
- Calories: 423 kcal
- Sugar: 37g
- Sodium: 147mg
- Fat: 29g
- Saturated Fat: 13g
- Unsaturated Fat: 14g
- Trans Fat: 0.3g
- Carbohydrates: 42g
- Fiber: 3g
- Protein: 6g
- Cholesterol: 20mg